Checkfront Bookings
Purpose
To provide step-by-step instructions for using Checkfront to manage bookings, process payments, and handle waivers.
Scope
This SOP applies to all Sea Saba staff members involved in booking, customer service, and payment processing.
Procedure
Logging In
- Go to Checkfront: https://login.checkfront.com/u/login
- Enter your credentials: Use your login credentials to log in.
Tip: If you do not have login credentials, talk with management.
Navigating the Dashboard
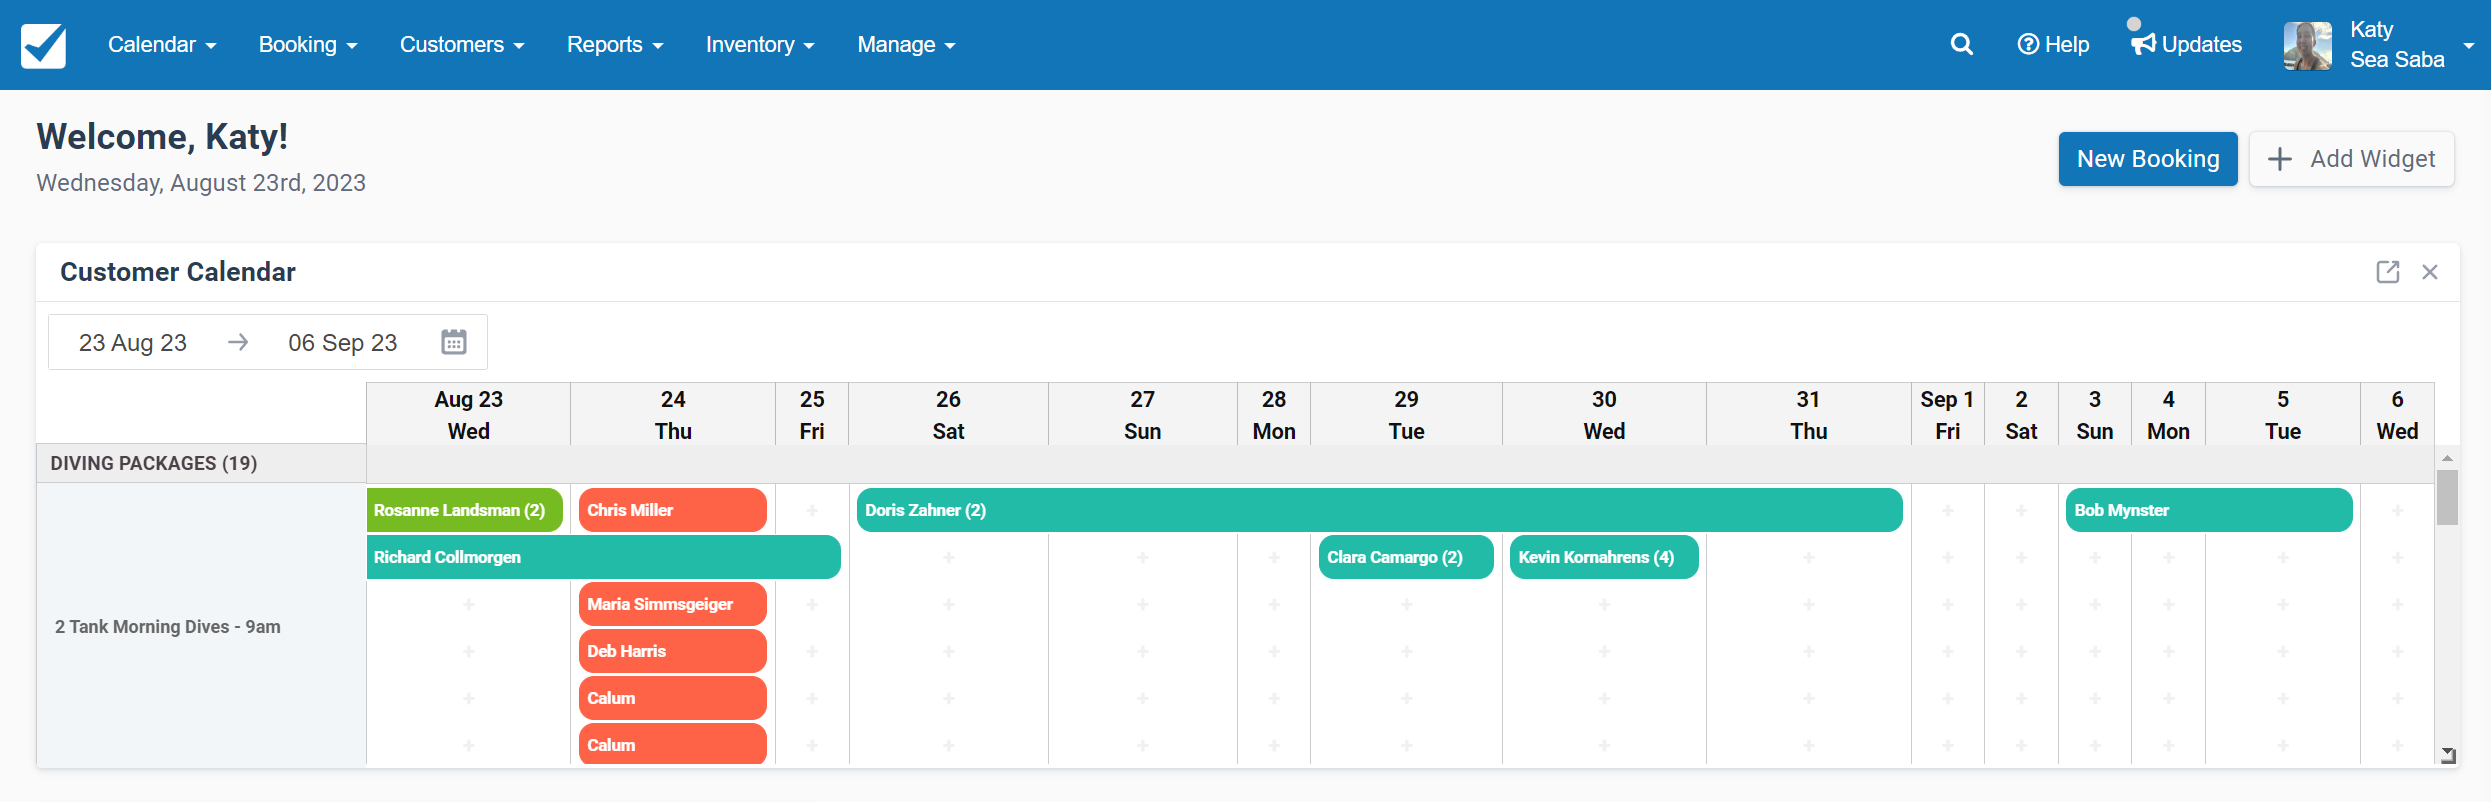
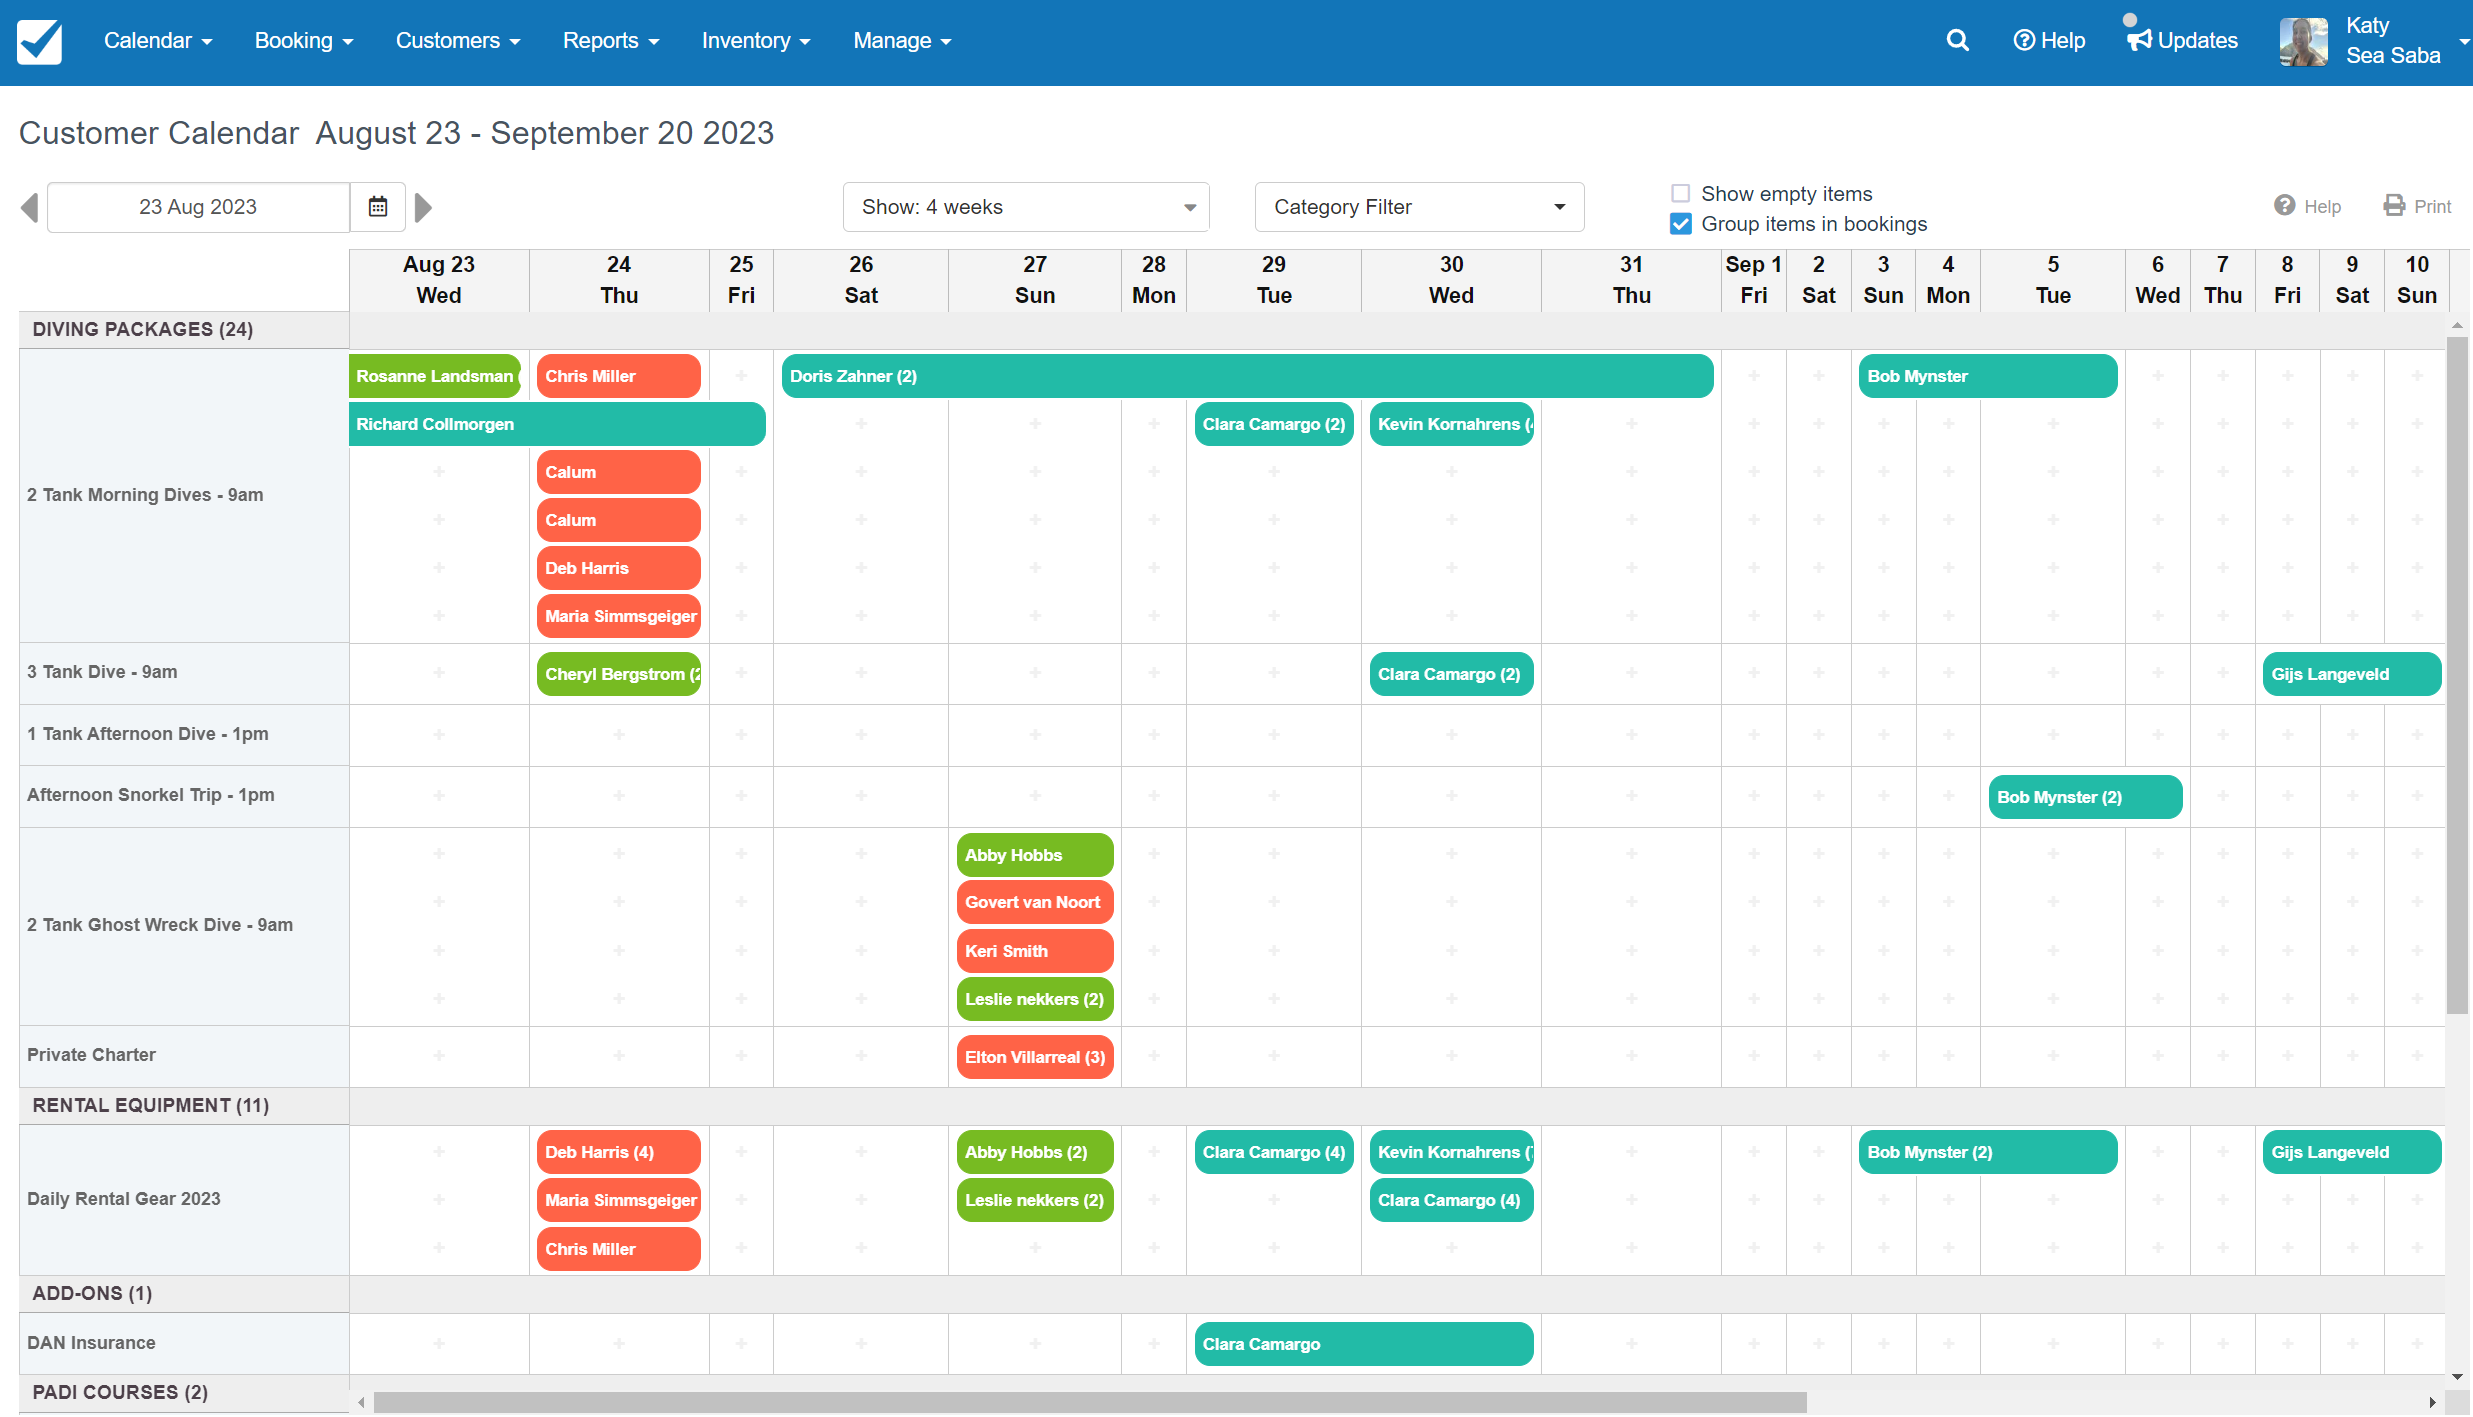
- Main dashboard: Upon logging in, you'll be directed to the main dashboard.
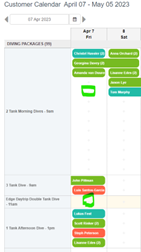
- Calendar view: Select "Calendar" > "Customer View" for a comprehensive view displaying 4 weeks of bookings categorized by type.
- Color codes: Different colors represent various booking types, providing quick visual references.
Searching for a Booking
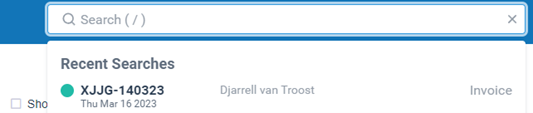
- Click the search icon in the top right corner of the dashboard.
- Search by last name for best results when finding a specific booking.
Creating a New Booking
Two options are available:
- "+" Button method: Click the "+" button on the desired day and activity. Great for single-day activities like Snorkeling or Sunset Cruises.
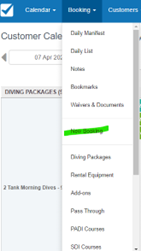
- "New Booking" tab method: Navigate to the "Booking" tab and select "New Booking". Best for multiple days of different activities.
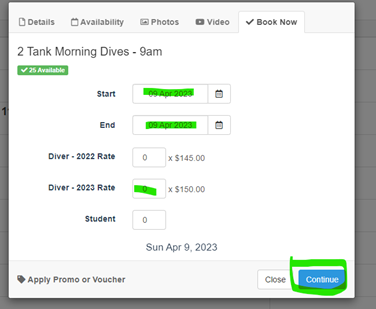
Adding Booking Details
- Set the end date and the number of people after selecting the activity.
- Click "Continue" to proceed.
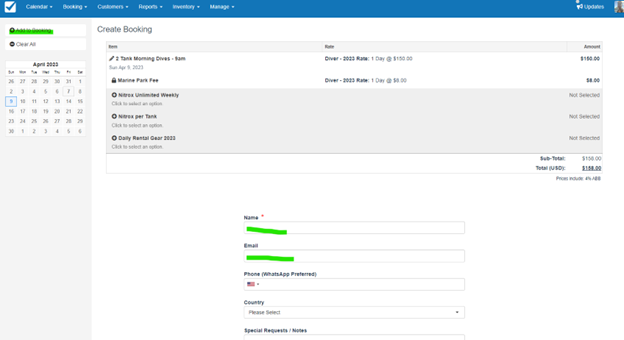
Guest Information
- Input the guest's name and email (used for receipts and communication).
- Add more items: Click "Add to Booking" on the left side above the calendar if needed.
- Click "Continue" once all details are added.
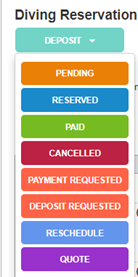
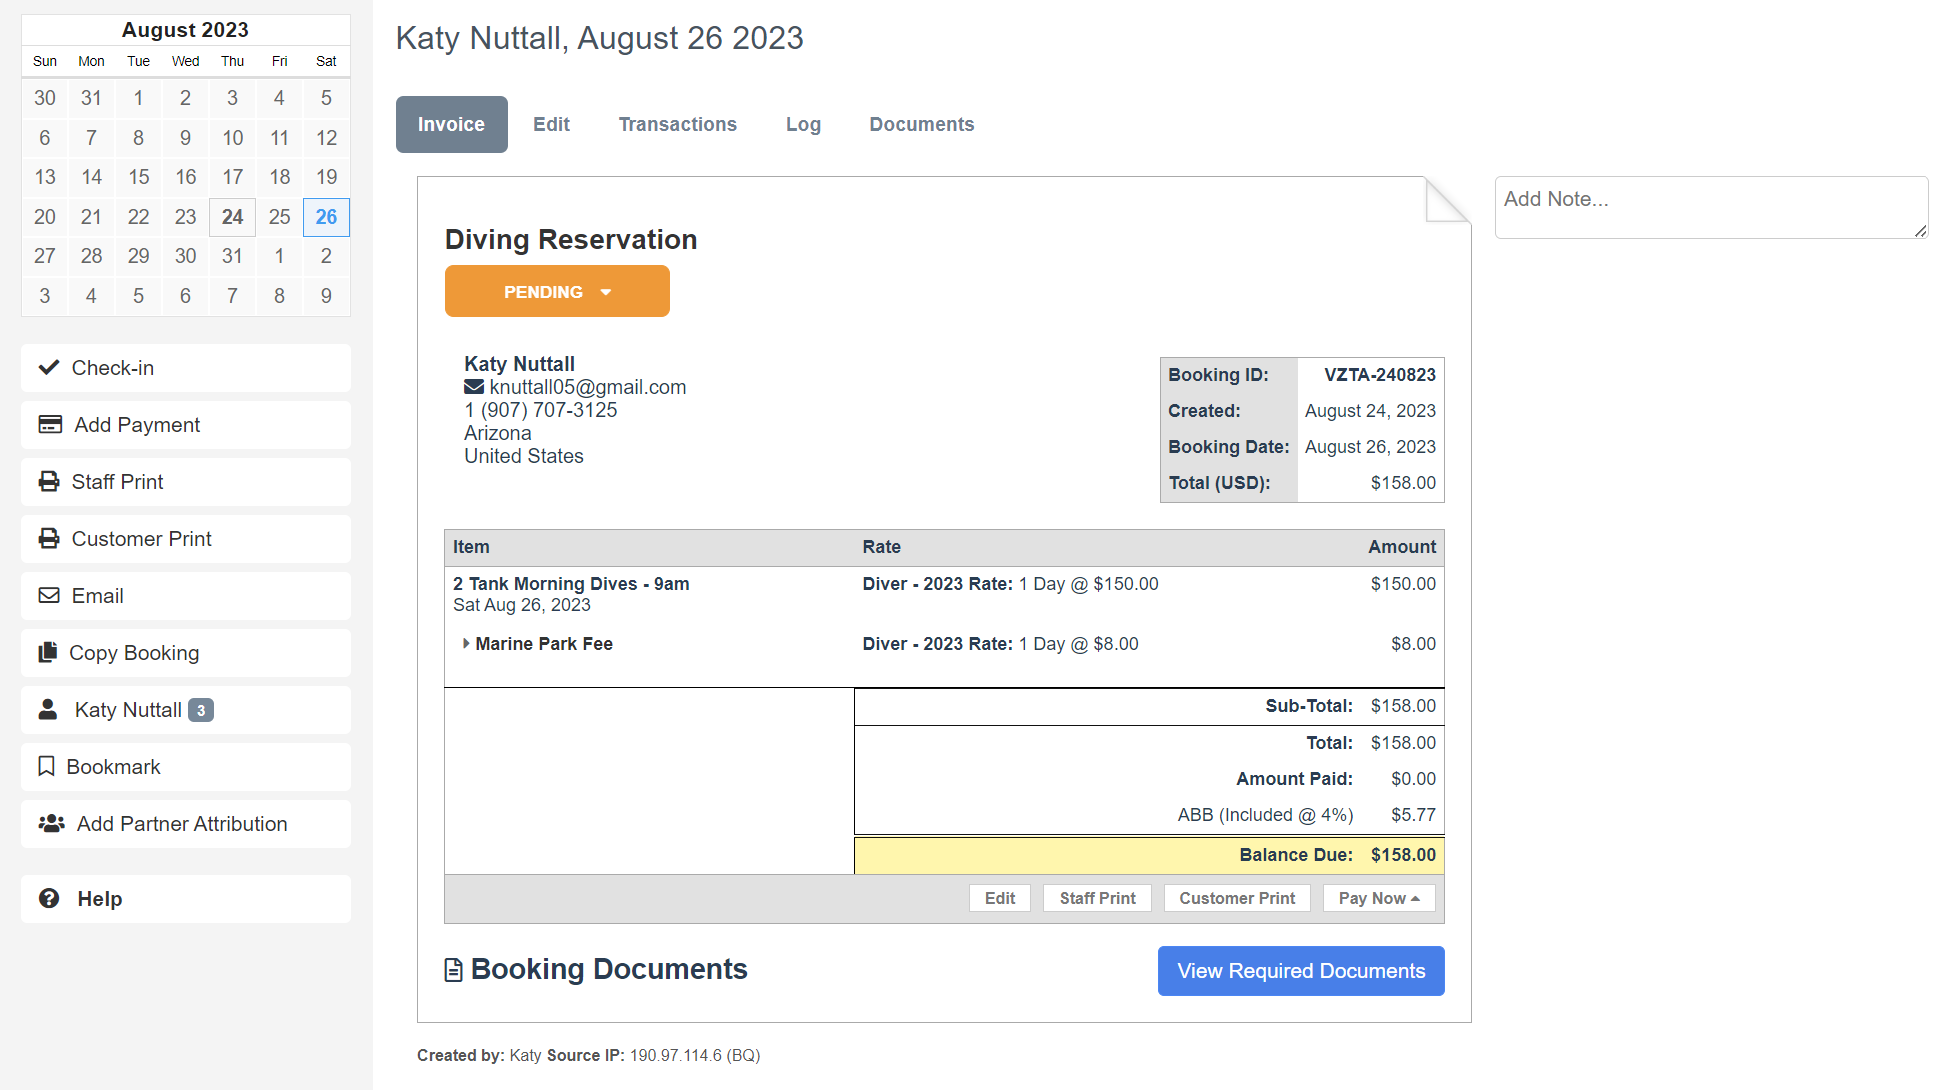
Payment Processing
- Review the booking: The next page offers an overview.
- Process payment: Click "Add Payment" underneath the calendar on the left.
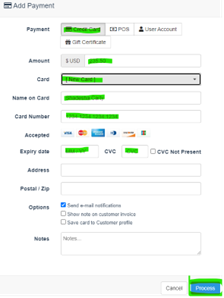
Credit Card Payments
- Retail shop: Change "Card" to "NEW CARD" and enter card details manually.
- Harbor office: The "Card" box reads "Harbor Office".
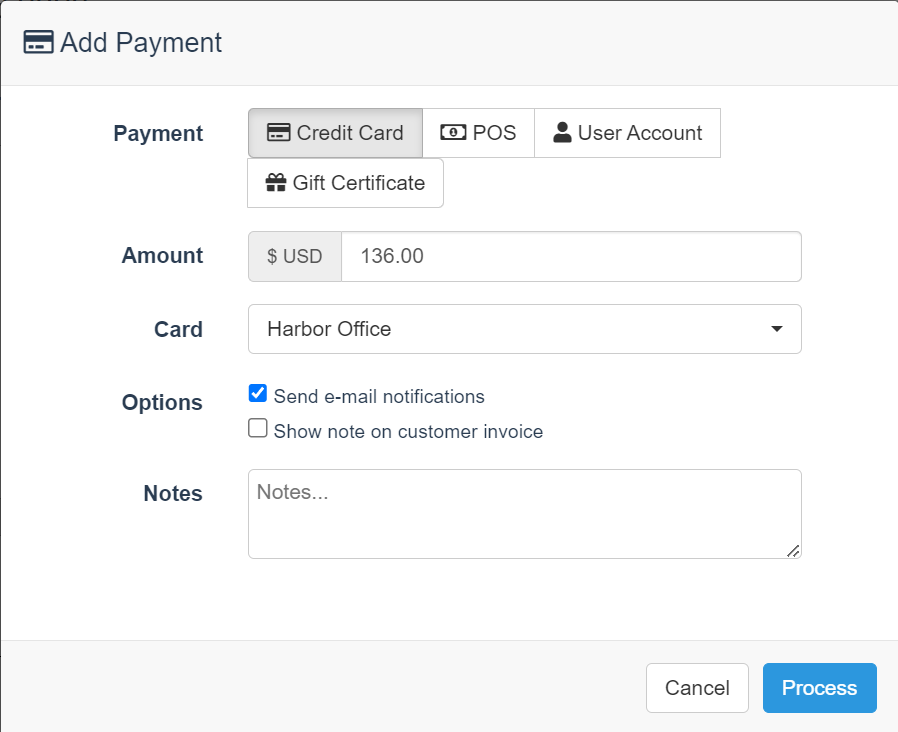
Cash Payments
- Choose "POS" and select payment type as "Cash".
Warning
Cash must be in exact change — we cannot use cash from the drawer. It will make your drawer count off at the end of the day.
Note
Put the cash with a note paperclipped to it with the customer's name, or put it in an envelope with the customer's name and place it in the safe.
Completing the Booking
- After processing payment, the system captures and sends the guest an emailed receipt.
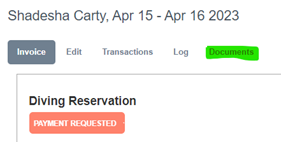
Waivers and Documents
- Guest waivers: Guests must complete required waivers for their booked activities.
- Use the iPad (in the Retail Shop) with Chrome to access the "Document Directory".
- Click "Sign Document" for the activity they booked.

Attaching Waivers to Bookings
- Access the booking on the computer once the waiver is signed.
- Click the "Document" tab, then "Attribute Documents".
- Search for the signed document and select the relevant names.
- Click "Attach" to associate the waiver with the booking.
- Repeat for multiple guests if necessary.


Accountability
All staff members handling bookings are responsible for following this SOP. Ensure all payments are processed correctly and waivers are attached to bookings before the guest's activity date.